23 Januar 2026
Augenroll
15 Januar 2023
Hand.Werk
Was mich immer wieder überrascht, ist, wenn Menschen denken das dieses eine Werkzeug, dieser eine Kurs oder dieses eine Mal etwas auf Youtube, Insta oder TikTok angeguckt zu haben automatisch dafür sorgt, etwas zu können. Selbst mit der allerbesten, pädagogisch saubersten Lehre wird man in der Regel in die Lage versetzt, etwas leidlich gut nachzumachen. Ungefähr so wie ein Rezept lesen und danach kochen. Das ist niemals so gut wie das Ergebnis des zum hundertsten Mal zubereiteten Lieblingsgerichts. Man segelt nicht automatisch gut wenn man einen Segelschein gemacht hat, kann im allgemeinen nicht klettern wenn man nen Kletterkurs gemacht hat. Oder wenn jemand etwas baut, bastelt - handwerklich erschafft. Wir sehen immer nur das Ergebnis, nur einen klitzekleinen Ausschnitt aus dem Leben der Person der wir da zuschauen. Wir wissen nichts davon wie lange es gedauert bis jeder Handgriff so sitzt, jede Bewegung so abläuft wie wir es sehen können.
Was uns dann immer noch verborgen bleibt - wie lange es gedauert hat bis die Person das, was sie da tut, fühlen oder spüren konnte. Wie sich ein Gewindeschneider in zähem Edelstahl kurz vor dem Abreißen anfühlt, wie der Unterschied zwischen einem Schliff mit 200er Korn und leichter Kraft gegenüber einem 240er Korn mit mehr Kraft nur allein unterschiedlich warm auf der Rückseite des Schleifpapiers wahrzunehmen ist. Es gibt tausende solcher Beispiele - das richtige Schmatzen einer Farbrolle auf der Wand, der saubere Zuschnitt eines Schnittmusters, usw.. In Videos, deren Länge unsere konditionierte werbegerechte Aufmerksamkeitsspanne nur nicht überfordern darf, sehen wir die zusammengeschnittenen Momente mit dem just fertig gestellten Ergebnis. Wie viele erliegen dabei dem Irrglauben mit ein bisschen gucken und einer Erläuterung schaffen sie das ebenfalls.
In der Regel sehen wir Menschen zu, die das, was sie da tun, mit einer Leidenschaft und Hingabe etliche Jahre perfektioniert haben. Oder aus einem Arbeitsdruck und einer steten Wiederholung eben auf das effizienteste optimiert haben. In allem stecken etliche Stunden an Fehlschlägen, an Ausschuss, an Frust, an tausenden kleinen Schritten hin zu einer Qualität die wir in der Regel nie erreichen werden.
Ich mag selbst unheimlich vieles ausprobieren. Die nötige Neugierde hatte ich schon immer, den Zwang schnell "brauchbare Resultate" zu bringen habe ich in meiner Jugend über mich ergehen lassen müssen. Die Kehrseite davon beschäftigt mich noch heute und wird es wohl immer. Der Nebeneffekt davon - vieles doch recht gut zu können. Einiges sogar ein bisschen besser. Wenn ich zurückschaue, beherrsche ich die Dinge, die ich besonders oft wiederholt habe, wahrscheinlich am Besten. Es ist bei mir vielleicht nicht so sehr Talent sondern eher die Ausdauer und der Wille zur Verbesserung des Könnens. Wenn ich mir die Streubüchsen mit Talent, Neugierde, Ausdauer so anschaue werden die wahrscheinlich in einer Normalverteilung über der Menschheit ausgekippt. Wir alle können die meisten Dinge halt so einigermaßen mittel. Ausdauer ist schon etwas, das mir liegt und vielleicht gerade deshalb kann ich ein paar Dinge dadurch ein klitzekleines Stückchen zum besseren verschieben. Niemand weiß, wie viele Stunden dafür notwendig waren, um dahin zu kommen. Die meisten Menschen haben dazu aber auch einfach keinen Bezug, haben keine Vorstellung von dem Tun der Mitmenschen.
Wenn ich auf Anlagen unterwegs bin, ertappe ich mich dabei, einfach mal anzuhalten und den Leuten zuzugucken. Ich mag das. Der Isolierer an seiner Industrienähmaschine der die Matten für eine Maschine näht, der Fliesenleger wie er Quadratmeter für Quadratmeter Industriefußboden mit Spaltplatten macht, der Schweißer der eine Naht in 40mm Wandstärke mit ruhiger Hand über Kopf Raupe für Raupe legt. Die könnten mir das alle zeigen und mir erklären - ich hätte trotzdem nie den Anspruch das je so gut zu können. Und genau deswegen arbeiten all diese unterschiedlichen Menschen mit ihren Stärken ja auch zusammen. Und je weiter der Begriff des Handwerks gedacht wird gilt das irgendwie für alles um uns und zwischen uns.
Wenn mich das eines gelehrt hat, ist es, das eigene nicht mit dem Ergebnis eines anderen Menschen zu vergleichen. Vielleicht noch, um den Respekt davor einordnen und ermessen zu können, aber bitte nicht, um seine eigene Leistung ins Verhältnis zu setzen. Es birgt so weniger Gefahr, enttäuscht zu sein. Auf das eigene Können von vor ein paar Jahren zu schauen ist einfach die gesündere Variante. Und wird in den seltensten Fällen ein Grund für ein Hadern sein. Ohne die Bereitschaft zur Ausdauer wird ein durchschnittlich talentierter Mensch halt einfach nicht dahinkommen. Ich hab mir das irgendwann so hingelegt, nur so hohe Ansprüche an mich selbst zu setzen, wie ich auch bereit bin, die nötige Ausdauer mitzubringen.
Und andere Menschen haben halt andere Ansprüche an sich an gleicher Stelle und gleiche Ansprüche an sich an anderer Stelle.
22 November 2022
1,6...1,8 kWh/pd
27 Februar 2022
wenn's mal wieder länger dauert: SON28 + Forumslader + Garmin Edge 1030+
- Display mit Touch - Gewohnheit vom 810er
- OSM - Openfietsmap lite, mit 20010.TYP
- kompakt - ich mag kein Mäusekino
- Akku - never enough
- USB-C
- 1x K-Edge Garmin Sport TT Mount
- 1x Garmin Edge Aero Halterung
- 1x Garmin Charge Adapter für Aero
- 1x Zylinderschraube DIN 912 M4x45
- 1x Flachrundkopfschraube DIN 7380 VA2 M3x12
- 2x Flachrundkopfschraube DIN 7380 VA2 M3x15
- 1x Aluminium-Distanzhülse 4,3x8x15mm
- 1x Aluminium-Distanzhülse 4,3x8x6mm
- 1x USB2.0A zu Micro-B 24AWG Kabel vergoldet
- 2x Pogo Pins 1,5x2,5x3,5mm (Spitze x Durchmesser x Länge)
- Acrylglas XT schwarz 9N870 in 3mm
- Acrylglas XT schwarz 9N870 in 5mm
- ACRIFIX 0116
- SON28
- Forumslader V5 "klein"
- Garmin Edge 1030+
- Powerbank: Zendure A2
- Forumslader-"Nachlader": USB Boost-Lader
- USB-Ladegerät: VOLTCRAFT SPAS-2400/2+
22 Januar 2022
I ♥ Forumslader
Bit overdue post. Since 2014, when I planned to ride a bit longer it was clear from the beginning, that I'd ride for most of the time wheelsets with SON dynamo hubs. Simply because these are the best ones out there. Running the old barrel-shaped SON28 on the trekking bike for quite a few years there was really just one thing to decide, going with the SON28 or the SONdelux?
After going trough a few articles from https://fahrradzukunft.de and a nice exchange with Jens from http://www.forumslader.de/ I opted for the SON28. The little bit heavier one is the better choice if you wanna be on the safe side when it comes to running both consumers - the Forumslader and the lights. For the lights I went with the EdeluxII and combined it with the very sexy Supernova Taillight (read more here).
The whole setup more or less is still the same, the first two wheelsets (32h) were built by Felix and his colleagues. Bullet proof work horses, never let me down. Probably a bit outdated because "so small" rim width, but nice all year round wheels, one set with GP4000sII for the summer, one set with 4Seasons for the winter.
The EdeluxII from 2014 became replaced by the upside-down-version since it gave me the little but needed space for the small finger on the aero extensions. Latest wheelset is a Reynolds DiscBrake Assault LE. On that I took out the front hub and put in the SON28 12 disc center lock. Since that was the only option to match the 24h it is set up with the 12/9mm axle-adapter to match the old school drop outs.
Thus I can switch all wheels between all bikes and all Forumslader between all wheels and bikes as well. I always built the Forumslader for being fitted inside the fork shaft. Normally not a big deal, when it comes to carbon forks a bit tricky. Their inner diameter is really small, since the carbon requires a reasonable wall thickness.
The Forumslader - as it name says - is a result of a discussion started by users of the rad-forum. I once had an account there, but I like the outdoorseiten more, especially since it covers not only bicycle stuff. So, with the question how to provide electrical power to charge whatever device you carry while travelling by bike with the onboard generator - the dynamo hub - the first sketches and layouts were developed. It all started with a simple layout containing a board to solder all required parts onto. With the time the board became much better designed, removing wired bridges, reducing size and finally coming as a prebuild board with SMD-type components on it. So generally you don't need any special skills if you start with a latest versions. As a further development the idea of an Ahead-version came up. Basically a board and assembly layout just small enough to fit inside a fork shaft. Since most of the bikes used by the people active in the rad-forum were steel or aluminum bikes the maximum width of the board was set to approx. 23mm. And that's where it gets interesting. With the carbon fork of my GF02disc I only got ~22something mm inner diameter. Which means I'd need to take off a bit on each side of the circuit board. Just enough that it will fit snug into the shaft. Another thing is to run the cables going to the Forumslader and coming from it out the fork shaft on the top side - since it's a carbon fork. most metal forks on trekking bikes are open on the bottom end of their shaft pipe - easy for running cables in and out while keeping the Forumslader safe and dry. So I had to get a suitable expander and tweak it in a way the cables can run trough. Finally the top ahead set spacer needed to be drilled too.
My first one was a version 4, with the Efest V2, 18350 type, with 12V output and a 3xAA charger. It actually did it's job - until not. It got a short circuit in on of the cables and was damaged in the end. I'd say it was my fault not the Forumsladers design itself. So I ordered and received a spare assembly just in time before TCR2014, thx @Jens again - you saved my Transcon there :-). I took it off the BMC and on my trekking bike, with the steel USB-aheadset-spacer, running input cables downwards now.
The BMC got a version 5 and Efest purple. Running smooth and doing it's job just fine. Since I build up another GF02disc for long distances I got 2nd one, with 3A output on USB - which got burned during a its first test run last years early spring. I did not seal the cable properly since I wanted to make sure everything works fine. Had planned to seal everything just after that 800km-test ride. But - if something can go wrong - it goes wrong. Weather forecast promised differently before, but I ended up in a heavy thunderstorm with heaps of downpour. I was busy to find shelter myself and forgot about the Forumslader. In the end it got soaked and I had to get another set of parts. Learned it the hard way.
But generally - I really don't care about the time I spent on building them up or digging on the web for a nice cable and so on - it's worth it because it gives me the freedom to not need to stop just for charging somewhere or carrying always a power bank as backup. The whole thing is just perfect - also in comparison to commercially available alternatives (1, 2, 3, 4, 5, 6 & 7).
So what's next? Another little piece of my cockpit needs a hack - and the prototype is being tested at the moment....
25 September 2021
37tkm SKF MTRX
...well, that did'nt last long (as expected):
Rode both wheelsets (Velocity A23oc with White Industries CLD in the rear) over the time, the one with the SKF during winter. So yes - they have seen quite a bit of shitty conditions. So, what's next? Back to normal or ... maybe trying these?
Could be that they can't come up with their product due to patent hazzle with SKF... or that it's all just marketing buzz in the end and none of them can make a really durable product at all. Cane Creek gave it a try with SKF but it seems as that has been an one-hit-wonder. So guess back to standard type got still the best value/money-ratio.
06 Juli 2019
10tkm SKF MTRX
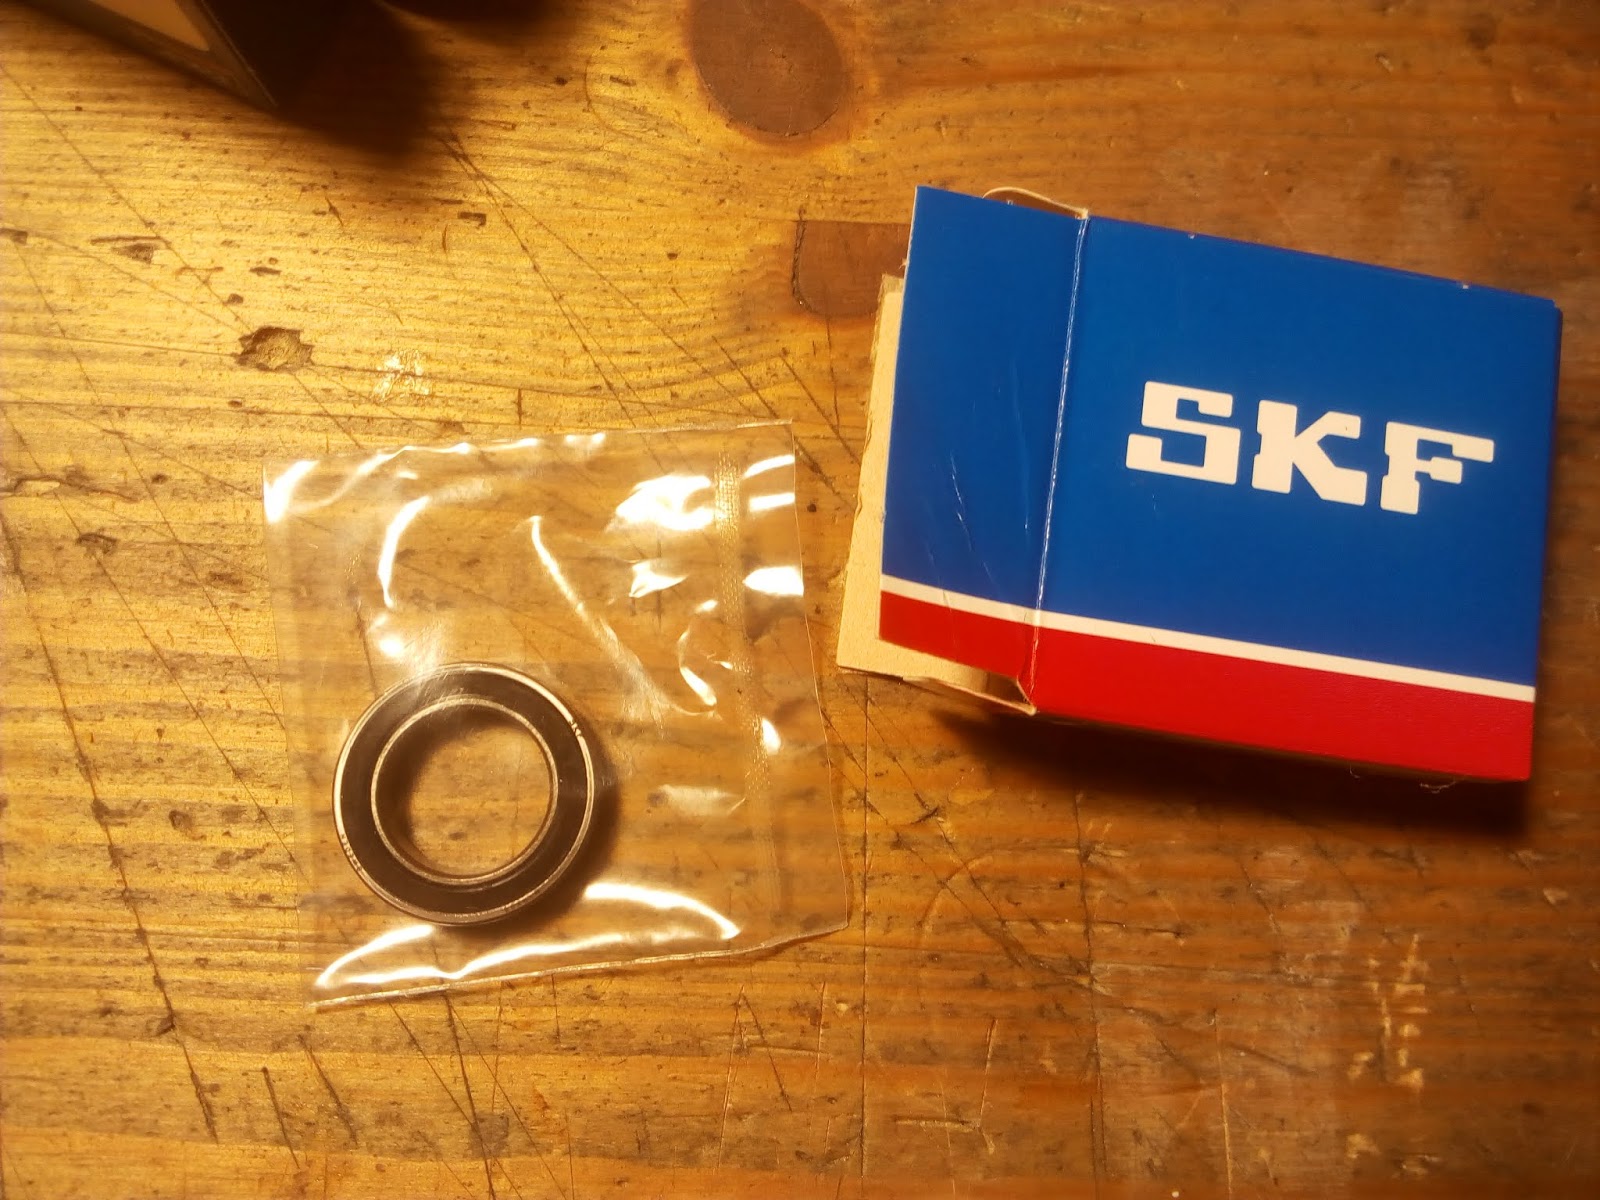
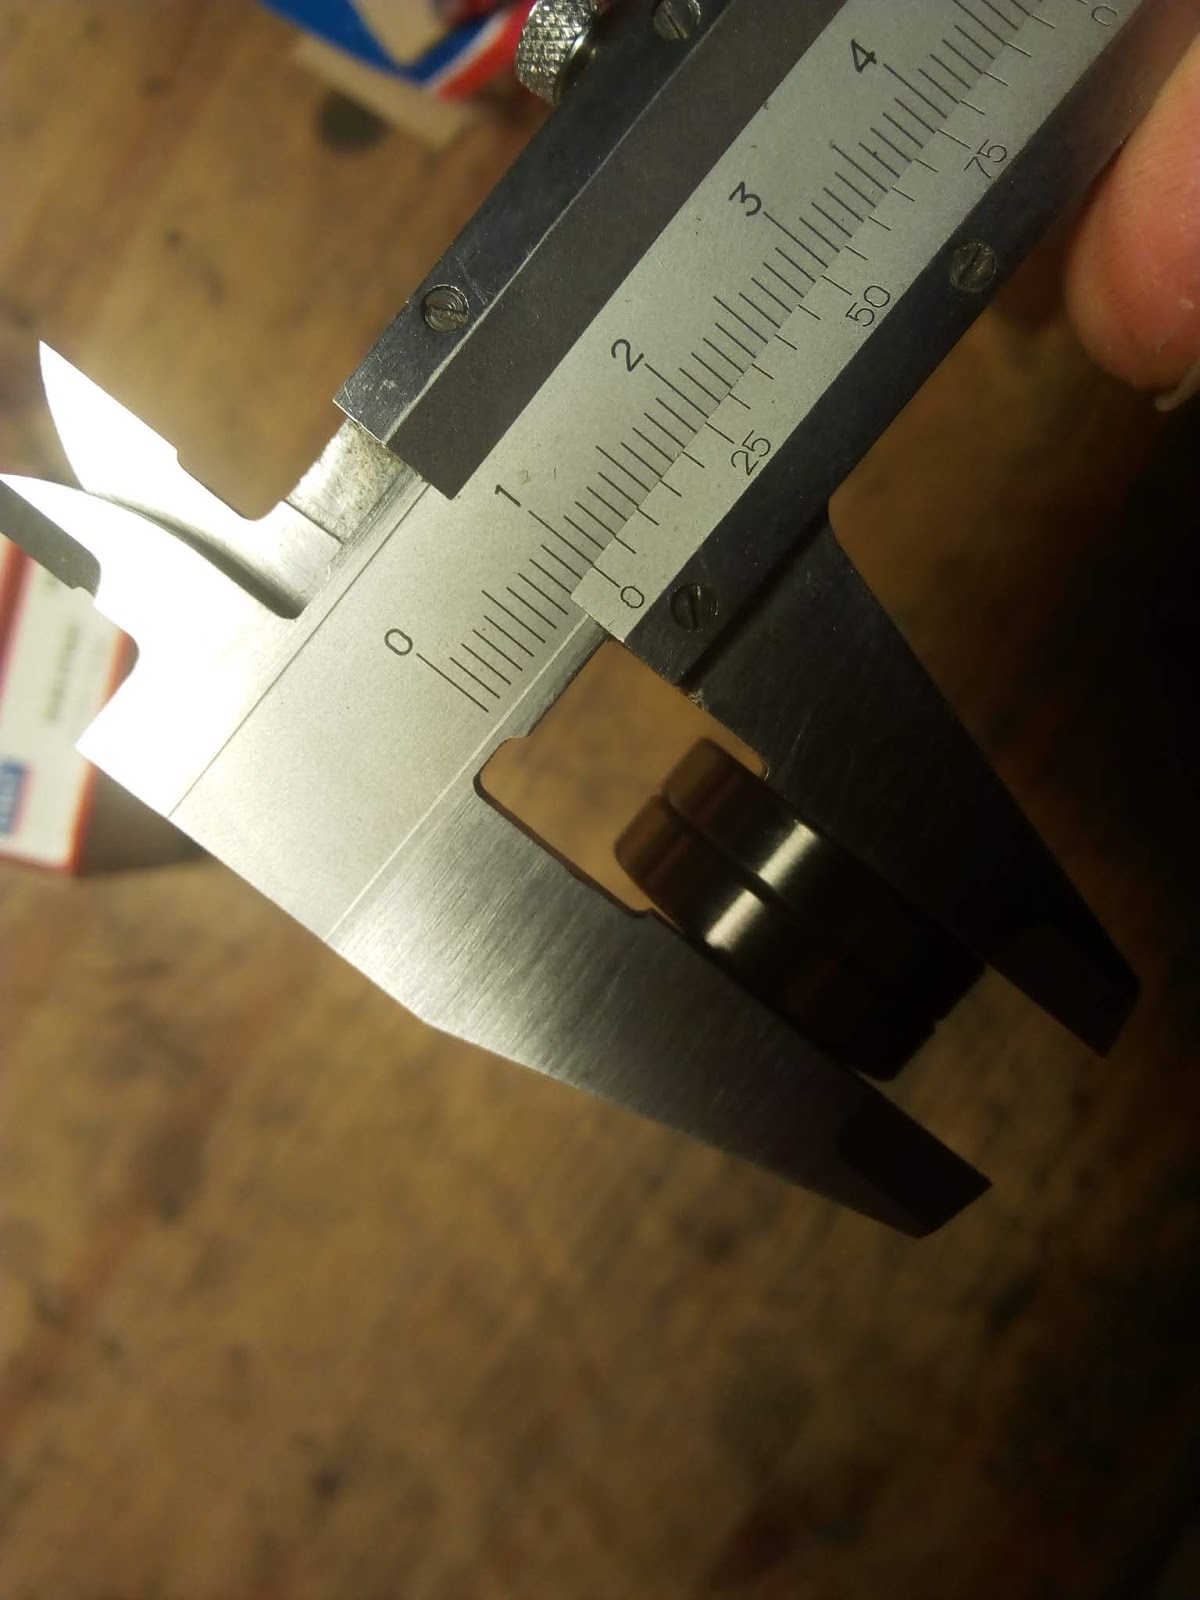
So I felt really tempted when I came across the news that SKF came up with something that could help on that. The MTRX series sounded pretty promising on keeping dirt and water out of the bearings. For the 6902 I took the KAMB MTRX07 (15x28x7) 61902. For replacements of the 3802 type SKF does not have the exact dimension as alternative. Having asked SKF about their opinion they did not fully recommend to put two smaller ones instead one wide bearing in operation - but they also did not rule it out completely "...it depends...". Light-Wolf did not had put them into operation so far. So I asked White Industries about their opinion on using two bearings with 5mm width, instead one 15x24x10 two 15x24x5. Means I wanted to pick the KAMB MTRX06 (15x24x5) 61802. And they confirmed to do so. Before they got supplied with the 10mm width bearings they did so too - as an old version of the hub description mentions: http://www.whiteind.com/cld2 (which is not online anymore).
Yep, they come with a price tag one would not like to get five pieces just for a single hub. But if it comes down to cent per km...?
Are https://t.co/aUiEkBubjK worth it? Let's see in another 15tkm. 🚴 @SKFgroup pic.twitter.com/0e2BuLMw8D— bemme51 (@bemme51) 10. Oktober 2018
(alright, it's not 15tkms yet. sry for being so lazy)
Since I changed the original bearings I put a bit over 10tkm on the wheels - enough to get an impression if they are worth the investment. Normally I would feel some wear when turning the axle, some resistance, rough and far from friction free. This time - nothing. Simply just as right after I put them in place. Seems it takes a bit more to kill them. Let's see how long. ;)

14 April 2017
Garmin Edge 810 - replacing USB + SD card board
Since I'm not a friend of getting new stuff just because of a small worn out part I got me some spares from eBay.@firsthippy @JamesMarkHayden @Garmin I had 2 Garmins during #tcrno4 and they worked about 95% of time. The usb connectors are terrible.— Mikko Mäkipää (@mkpaa) 11. März 2017
So that's how you change it. I tried to get every step in a pic so you can follow disassembling and putting together again also just for cleaning purposes. It really looked a bit dirty along the sealing rubber. Ah, and don't wonder bout the screen - it just looks a bit worn but that's just the protective matte foil.Just in case.... pic.twitter.com/6R3ebNSQaj— bemme51 (@bemme51) 10. März 2017
Taking off the rubber case and SD-card. Unscrewing the cover rubber of the ports.
Unscrewing all 6 screws from the back panel.
Taking apart both parts, finger nail should do the job.
This step would not be necessary but I wanted to show the whole story.
Typical connector for screens, you might know from notebooks. Push the black part on both sides gently towards the screen.
The cable now goes out of the connector easily.
Take off the rubber seal. You might want to clean it with some alcohol.
Lift the mainboard with a thin tool, needle or similar.
The mainboard has a port on the backside which connects to the USB board.
Now lift the white plug from the port, small screwdriver helps.
So far easy stuff. Now you need to disconnect both remaining cables.
280°C is absolutely enough, 260°C should be fine.
It just takes two seconds per wire.
The USB board itself is glued onto the case with some sort of black silicone.
It is not really sticking to the plastic case. So just take your time and go along the edge of the board.
You don't need to win a beauty contest.
With a thin blade you should be able to lift the board.
And there it is.
Once you have cleaned the case from the remaing black stuff check if the new board fits well.
From now it's just the same stuff backwards. I had pretty good results with clear window silicone.
It's a bit better to handle in a smaller portion.
Will be way to much.
Ready.
And that's how it's done. Before you do this side, go around along the case once before (forgot to make a pic).
After you filled the gap around the board take a Q-tip with a bit soap and form a smoth surface.
Make sure you don't build up too much material. Check along the SD-card slot and USB port, take off what's sticking in the way.
After a while the silicone should start to cure. Time to solder the wires. Depending on the silicone it can take two days until cured completely. So don't rush with putting back in service.
Plug in the cable.
Put the main board back into place, press to connect to the USB board.
Put the seal in the right direction.
Make sure it is in place.
Connecting the screen.
Easy.
Once you have connected the screen and the upper case to the board remove all dust from the screen and the glass. Demin water with a Q-tip helps.
Now put the case together.
Looks familiar.
So far, everything looks fine.
...
Bingo.
That's it. Not rocket science. Just take your time. The new connector is tight as it should be. Since it is really just the USB-connector I might try to take it off the USB board and replace that one with a new one as well. Just in case... :-)